Dive into Fun with This DIY Sensory Fish Game for Toddlers!
Meta Description
Create a fun and engaging DIY sensory fish game for toddlers! Discover step-by-step instructions and tips for sensory play that sparks joy and creativity.
Introduction
Hey there, fellow parents! 🌼 If there’s anything we can all agree on, it’s that parenting can feel like a whirlwind of chaos, excitement, and pure magic all at once. Are you looking for a simple, engaging activity that delights your little ones and keeps them off screens? Today, I want to introduce you to a DIY sensory fish game that not only sparks joy but also nurtures your child’s curiosity and fine motor skills.
Creating this sensory game together can become a treasured bonding moment, filled with laughter and smiles. Plus, it’s an excellent way to encourage exploration and discovery—all while having fun! So, grab your supplies, and let’s dive in!
What is a DIY Sensory Fish Game?
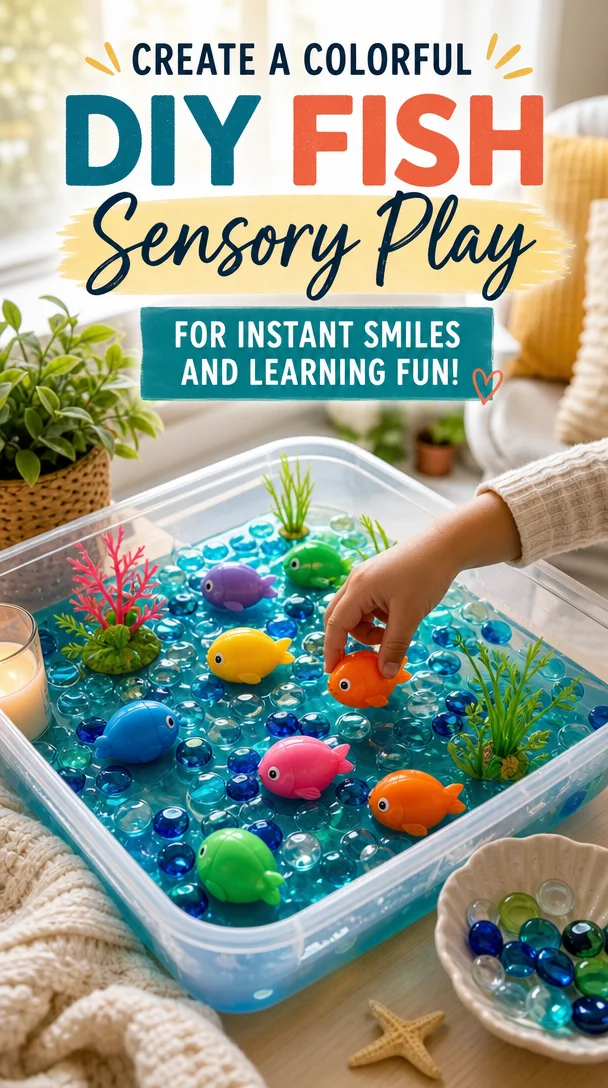
A DIY sensory fish game engages toddlers in a tactile and visual experience. It allows them to squish, press, and explore textures while promoting creativity and imaginative play. Using simple materials, you can craft a colorful fish that holds a delightful surprise inside—water, glitter, and food coloring! It’s not just a game; it’s a chance for your child to explore textures, colors, and even cause-and-effect relationships.
Why Sensory Play Matters
Sensory play is crucial for your child’s development. Research shows that engaging in sensory activities strengthens brain pathways, which are vital for cognitive growth. Plus, it enhances fine motor skills, hand-eye coordination, and problem-solving abilities. In simpler terms, sensory play helps your little ones learn and grow while having a blast!
Getting Started: What You’ll Need
Before we jump into crafting this exciting sensory fish game, let’s gather our supplies! Here’s what you’ll need:
- Clear plastic sheet or laminating pouch
- Permanent markers (waterproof)
- Iron or hair straightener
- Water
- Food coloring (your favorite colors)
- Glitter (the more sparkly, the better!)
- Scissors
- Tape (optional)
Once you have everything on hand, let’s get crafty!
Step-by-Step Instructions to Create Your DIY Sensory Fish Game
1. Draw Your Fish
Start by drawing a fun fish shape on your plastic sheet with permanent markers. Let your creativity flow! Use bright colors and add cheerful details like scales or silly eyes. This part is all about having fun and personalizing your sensory game.
2. Seal the Edges
Using your hair straightener or iron, carefully seal the edges of your plastic sheet. Be sure to leave a large opening to fill it with your sensory mixture later. Pro tip: When cutting around your fish, leave about 2 cm of extra plastic around the edges. This helps prevent leaks and makes sealing much easier.
3. Prepare Your Sensory Mixture
Now for the fun part! Mix water with a few drops of food coloring and sprinkle in some glitter. The colors and sparkles will fascinate your toddler as they explore the sensory experience. Pour this mixture into the fish shape through the opening you left earlier. Watch your little one’s eyes light up with excitement!
4. Seal Everything Up
With the mixture inside, it’s time to seal the final opening. Carefully flatten out the plastic to remove excess air, then seal it off with your hair straightener or iron. Make sure it’s tightly closed to avoid any spills during playtime.
5. Bring on the Play!
Now, it’s time to let the fun begin! Hand your little one this delightful sensory fish and encourage them to squish, poke, and explore the texture. They’ll love the sensation of the water and glitter rushing around inside the fish!
Tips to Enhance the Sensory Experience
As you and your child enjoy this DIY sensory fish game, consider these additional ideas to keep the activity fresh and exciting:
Experiment with Materials
Change up the sensory mixture! Try using different colored water or even add small beads, foam shapes, or sequins to the mix. You can create a variety of sensory experiences, prompting discovery and conversation.
Include Themed Play
Use this activity as a part of a marine or ocean-themed day! Pair the sensory fish with books about ocean life, or set up a play area with stuffed sea creatures. This makes learning feel effortless and engaging.
Discuss Colors and Textures
While your child plays, engage them in conversation about the colors and textures they feel. Ask questions like, “How does it feel when you squish the fish? What colors do you see?” Helping them articulate their experiences fosters language development.
Encouraging Connections Through Sensory Play
This DIY sensory fish game not only offers hours of enjoyment but also creates a valuable opportunity for laughter and connection. As parents, we often feel the pressure to craft perfect memories, but it’s in these simple, unhurried moments that our children thrive.
1. Create Meaningful Moments
Take time to sit and play alongside your child. Share in their giggles, delight in their discoveries, and simply enjoy being present. These shared experiences build a strong bond, while providing your little ones with reassurance and comfort.
2. Celebrate Their Achievements
As your child interacts with the sensory fish, celebrate their curiosity. Whether they notice a new color swirling inside or point out a unique texture, these small wins matter. Offer praise and encouragement for their explorations!
3. Capture the Memories
Snap a few pictures of your child getting lost in the sensory experience! These photos will become cherished reminders of the joyful moments spent together as a family. You can create a scrapbook or a digital album to look back on these memories.
Conclusion: Enjoying Parenthood, One Sensory Project at a Time
In the whirlwind of parenting, it’s easy to feel overwhelmed. Remember, you don’t need to strive for perfection; instead, focus on creating meaningful moments filled with joy and laughter. This DIY sensory fish game is more than just an activity; it’s a chance to connect, explore, and, most importantly, embrace the beautiful chaos of family life.
So, gather those supplies, channel your inner artist, and dive into this colorful adventure with your toddler. You’re doing an amazing job, and these little moments will create a bond that lasts a lifetime. Happy crafting! 💖
FAQs
Q1: How can I store the sensory fish when not in use?
A1: Store your sensory fish flat in a cool place to prevent any leaks. If it becomes too squished, reseal it with an iron!
Q2: Can I use other designs instead of a fish?
A2: Absolutely! Get creative with different marine animals, shapes, or themes. Let your child’s interests guide the designs.
Q3: Is this activity safe for all ages?
A3: While toddlers love sensory play, ensure adult supervision, especially with younger kids, to avoid any choking hazards.
Feel free to spread the magic of this DIY sensory fish game with your fellow parents on social media. Together, we can create a supportive community, sharing tips, tricks, and the joys of family life!