Unlock Backyard Fun: Create Your Own DIY Food Rocks & Bug Rocks for Imaginative Play
Meta Description: Spark creativity in your backyard with DIY food rocks and bug rocks! Perfect for imaginative play, these simple crafts bring endless fun for kids.
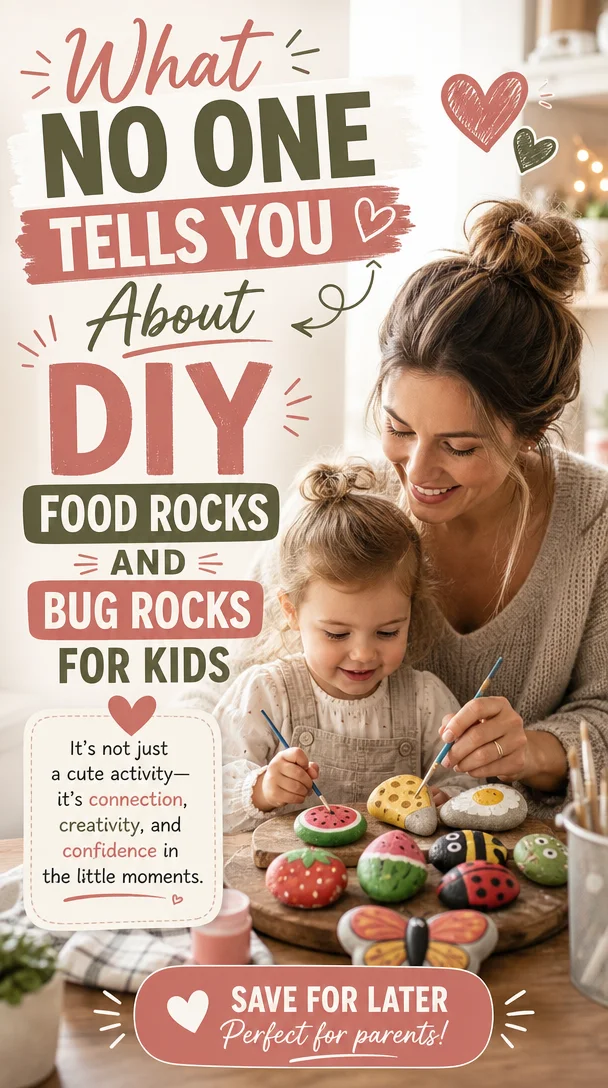
As a parent, you know that a backyard can be a magical place filled with endless possibilities. The lush green grass, chirping birds, and the gentle sway of branches can transport your little ones to faraway lands — all without leaving home! But let’s be honest, sometimes, the backyard can also feel like just another patch of dirt when you’re looking for ways to keep the kids engaged. What if I told you that you could transform ordinary rocks into food rocks and bug rocks, giving your kids the ultimate playtime experience?
These DIY crafts not only stir imagination but also encourage creativity and nurture developmental skills. Plus, they’re incredibly easy to make and can provide hours of fun! Let’s dive into how you can create these delightful additions to your outdoor playtime.
Why DIY Food Rocks & Bug Rocks?
Creating DIY food rocks and bug rocks offers so many benefits beyond just being fun:
- Imaginative Play: Encouraging your child to create stories and scenarios promotes their imagination and storytelling skills.
- Fine Motor Skills: Painting and decorating the rocks help develop your child’s fine motor skills.
- Outdoor Learning: Mixing art with nature teaches kids about the environment and the beauty of simple materials.
So, whether you’re looking for that extra special activity to transform your backyard or simply want to reduce screen time, food rocks and bug rocks can spark joy. Plus, they’ll come with a side of precious memories as you create together!
Gathering Your Materials
Before diving into this creative adventure, let’s gather what you’ll need:
Materials for Food Rocks
- Smooth Rocks: Look for various sizes. The smoother, the better for painting!
- Acrylic Paints: Choose vibrant colors for your food rocks like red for apples, yellow for bananas, or brown for cookies.
- Paintbrushes: A variety of sizes will work best.
- Sealant: Optional, but it helps protect your masterpiece from the elements.
- Palette or Plates: Use these for mixing and holding paint.
Materials for Bug Rocks
- Smooth Rocks: Similar to food rocks, the smoother the rock, the easier it is to paint.
- Acrylic Paints: Think bright colors like green for bugs or black for ladybugs.
- Paintbrushes and Markers: Use smaller brushes or markers for intricate designs.
- Sealant: To protect against rain or sunshine.
- Google Images or Nature Guides: These can serve as inspiration for designs!
With your materials ready, let’s jump into the fun of crafting!
Crafting Your DIY Food Rocks
Step-by-Step Guide
-
Pick Your Rocks: Go on a little treasure hunt in your backyard or local park to collect small, smooth rocks.
-
Wash and Dry: Rinse your rocks with soap and water to remove dirt. Let them dry completely.
-
Plan Your Designs: Sketch out your fruits, veggies, or treats on paper. This step is useful for kids who want to visualize their masterpiece!
-
Paint Your Rocks:
- Use a paintbrush to apply the base color first.
- Once dry, paint details — think seeds, spots, or stems.
-
Seal Your Rocks (Optional): If you choose to seal your artwork, ensure it dries completely before applying the sealant.
Examples of Food Rocks Ideas
- Fruits: Apples, oranges, and bananas are super easy and fun!
- Desserts: Cookies with chocolate chips, cupcakes with frosting!
- Veggies: Carrots, bell peppers, or eggplants can add a nutritious twist!
Crafting Your DIY Bug Rocks
Step-by-Step Guide
-
Gather Your Rocks: Just like with food rocks, the smoother, the better!
-
Clean Your Rocks: Make sure they’re free of dirt.
-
Decide on Your Bugs: Research bug designs that interest your child. Ants, ladybugs, beetles, and butterflies work wonders.
-
Begin Painting:
- Apply the basic color to each rock first.
- After it dries, use smaller brushes or markers to add details like wings, stripes, or antennae.
-
Optional Seal: If you want your designs to stand up against the elements, apply a protective sealant.
Examples of Bug Rocks Ideas
- Ladybugs: Black spots on red or orange rocks.
- Butterflies: Colorful wings and patterns.
- Bees: Yellow and black stripes with cute little wings.
Making Playtime Even More Fun
Once your DIY food rocks and bug rocks are complete, here are some fun ways to include them in play:
Mud Kitchen Adventures
Set up a mud kitchen with pots, pans, and your rocks. Encourage your little chefs to create delicious imaginary dishes using their food rocks — just be cautious of the “tasty” bugs popping up in the mix!
Bug Hunts
Host a bug scavenger hunt in your backyard! Hide your painted bug rocks for the kids to find. Create a checklist for more interactive in-depth play.
Story Time Play
Encourage narrative play by crafting stories around your food rocks and bug rocks. What happens during the great bug bake-off? Or who wins the race between the ant and the ladybug? Let their imaginations roam free.
Encouraging Emotional Development
As your child engages in these activities, take note of how you can weave in emotional development lessons:
- Sharing & Cooperation: Encourage children to share their completed rocks and create stories or dishes together.
- Empathy & Understanding: When discussing insects, you can touch on their roles in the ecosystem, helping children develop a sense of empathy for all creatures, big or small.
Helpful Tips for Parents
- Join the Fun: Participate in the crafting process. Your involvement conveys that creativity and play are valuable.
- Set Aside Time: Dedicate specific days for backyard fun. The ritual helps foster anticipation and excitement.
- Encourage Dialogue: Ask open-ended questions as your child creates. What colors are you choosing? Why did you select that bug?
Conclusion
Turning your yard into a vibrant playground filled with love, creativity, and imagination doesn’t have to feel overwhelming. With just a few rocks and some paint, you can create a world of food rocks and bug rocks that not only entertain but also nurture your child’s emotional and creative development.
Parenting is a journey filled with ups and downs, messy moments, and countless small victories. Remember that every little endeavor counts, and these quiet afternoon projects can spark immense joy and connection within your family. You’ve got this, and your little ones are growing into their best selves with every imaginative play session. So grab your paints and rocks, and let the fun begin — the backyard awaits!
FAQ
What age is best for this activity?
Children of varied ages can enjoy this activity! Toddlers may need assistance with painting, while older children can take the lead.
How do I store the rocks once painted?
Store painted rocks indoors in a safe spot to protect them from harsh weather. Alternatively, designate a ‘rock garden’ in your yard!
Can we use other types of rocks?
Absolutely! Experiment with different shapes and sizes. Your kids might love creating with unique rocks from nature.
Let the creativity flow and watch your toddlers thrive while they enjoy a lovely outdoor experience. Happy crafting!