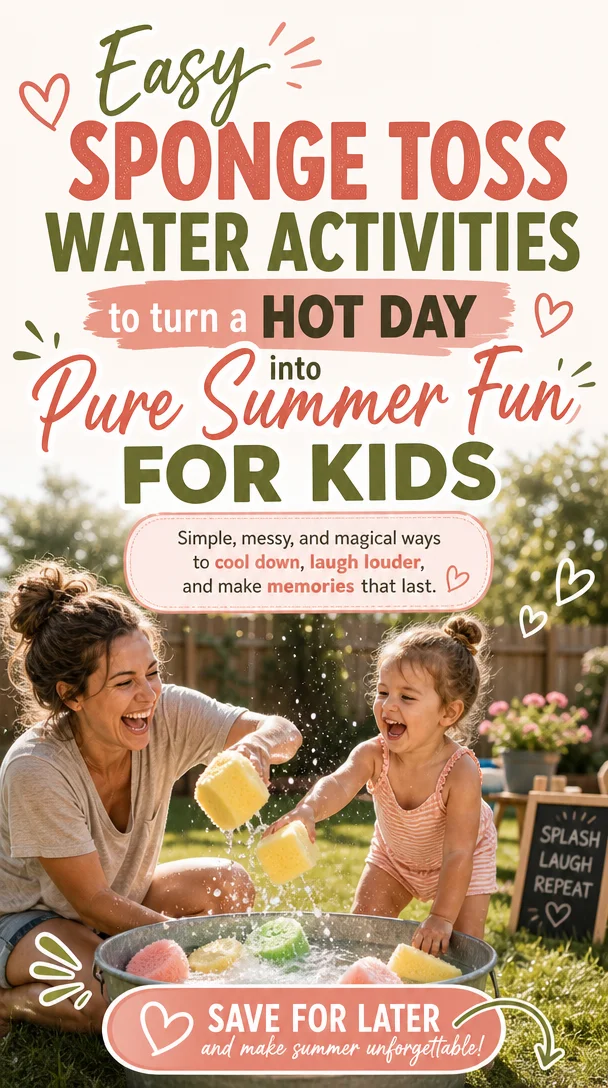
Easy Sponge Toss Water Activities to Turn a Hot Day into Pure Summer Fun for Kids
Splash into Summer Fun with a Sponge Toss Water Activity!
Meta Description: Looking for a fun way to cool off this summer? Discover the joy of a Sponge Toss Water Activity that brings families together while beating the heat!
Dive into Family Fun!
Summer is a magical time for families. The sun shines a little brighter, the days stretch a bit longer, and laughter fills the air. But let’s be honest—keeping kids entertained and cool during those sizzling hot months can feel like a monumental task. Don’t fret! I have the perfect solution that’s not only fun but also brings everyone together: the Sponge Toss Water Activity!
Picture this: you gather your family in the backyard, armed with colorful sponges, buckets, and loads of laughter. Kids squeal in delight as they soak each other (maybe you, too!) with water, all while giving their giggles a workout. This easy-to-set-up game offers a refreshing escape from the summer heat and creates endless opportunities for bonding and laughter.
Why Choose Sponge Toss Water Activity?
When it comes to summer fun, I believe in making the most of simple pleasures. The Sponge Toss Water Activity embodies everything we love about sunny days: ease, laughter, and connection. This activity checks all the boxes—it’s cheap to create, wonderfully fun, and fully adaptable for any age group!
Benefits of Sponge Toss Water Play
- Encourages Physical Activity: Kids naturally love to move, and tossing sponges helps them burn off energy effectively.
- Builds Social Skills: This activity is perfect for playdates or family gatherings, allowing children to practice teamwork and communication.
- Enhances Sensory Play: Water play stimulates the senses, making it soothing and even a little therapeutic.
- Nurtures Creativity: Whether they create their own rules or invent games, kids have a chance to be imaginative while having fun!
So, let’s jump in and learn how to make the most of this joyous sponge toss experience!
Setting Up Your Sponge Toss Water Activity
Preparing for the sponge toss is a breeze! Here’s a step-by-step guide to ensure you have everything ready for an unforgettable afternoon.
Gather Your Materials
Before you start, collect a few supplies. You don’t need much—just a handful of inexpensive items! Here’s your shortlist:
-
Sponges: Purchase several sponges in different colors. You can find these at your local dollar store or online. Cut them into smaller pieces if you’re working with toddlers.
-
Buckets: Grab a couple of large buckets or containers to hold the water and sponge toss targets.
-
Water Source: A garden hose, shower, or even a large bowl filled with water will work perfectly.
-
A Target Area: Set up a small area in your backyard or park where everyone can stand at a safe distance! Mark the spots with cones or brightly colored markers.
-
Protective Gear (optional): Sunglasses or hats can make your participants snazzy and sun-safe!
Step-by-Step Instructions
-
Prepare the Sponges: Soak the sponges in water and place them in one of the buckets. You can even set them in the shade if it’s scorching to keep them cool until ready to toss.
-
Designate Teams: Split everyone into teams. Depending on how many players are involved, you can create multiple teams for a little friendly competition or keep it simple with just two.
-
Establish Tossing Rules: Set a specific distance for the tossing challenge. Aim for at least 10-15 feet away from each other.
-
Time to Toss! Each player takes turns to toss a soaked sponge at their opponents or into a designated target area. Points can be awarded based on distance, accuracy, or creativity!
-
End with a Splash: Allow the last couple of minutes for free play, letting the kids soak anyone they wish with the remaining sponges!
Tips for a Successful Sponge Toss
- Ensure Safety First: Always keep an eye on little ones to prevent slips and spills.
- Switch It Up: Change the game by introducing challenges. For example, stand on one leg while tossing or wear goofy hats!
- Incorporate Learning: Use this time to teach kids about water conservation or the science of displacement as they see how water moves.
- Capture the Moments: Snap pictures of the laughter and fun. These memories are worth sharing!
Ongoing Family Bonding Ideas
After enjoying your sponge toss, consider these additional activities to keep the joy flowing:
Creative Follow-Up Activities
-
Water Balloon Toss: Incorporate water balloons for an exciting variation. This adds a little more surprise and silliness to your day!
-
DIY Water Games: Get crafty by making a DIY water slide using a tarp and some soap. It turns your backyard into a mini water park!
-
Nature Exploration: After a water-filled day, head to a local park. Explore nature, collect wildflowers, or even go on a scavenger hunt.
Conversations to Spark Connection
While enjoying the sunshine, try these discussion starters with your kids:
- “What was your favorite part of today?”
- “If you could create a water game, what would it look like?”
- “How do you feel when you spend time playing together as a family?”
Encouraging these conversations strengthens your bond and opens pathways for communication.
Wrap-Up: Summer Joy Awaits
As you soak in the sunny moments this summer, the Sponge Toss Water Activity is just one way to create cherished memories as a family. I hope you find joy in the simple act of playing together, even amid the busy chaos of parenthood. Embrace the laughter, and don’t fear the mess! Remember that parenting is about creating moments, not perfection.
So gather your supplies, call over your loved ones, and let the sponge fun begin! Embrace the lighthearted joy of summer and make every splash count. You’ve got this, and I’m cheering for you every sticky, messy, and joyful step of the way!
Frequently Asked Questions
1. How can I make the sponge toss activity safer for younger children?
- Keep the tossing distance shorter and use smaller sponges. Consider laying down slip-resistant mats to prevent slips.
2. Can we create challenges within the sponge toss game?
- Absolutely! Change up the rules as you go: challenge kids to toss from different angles or have them try throwing with their non-dominant hand!
3. What if it is too hot outside?
- If it’s sweltering, consider doing the sponge toss in a kiddie pool or hosting the activity in the shade. Always ensure everyone stays hydrated!
Creating joys like these doesn’t just fill a summer day; it fosters memories that last a lifetime. So, splash headfirst into fun, and enjoy each soak and giggle along the way!
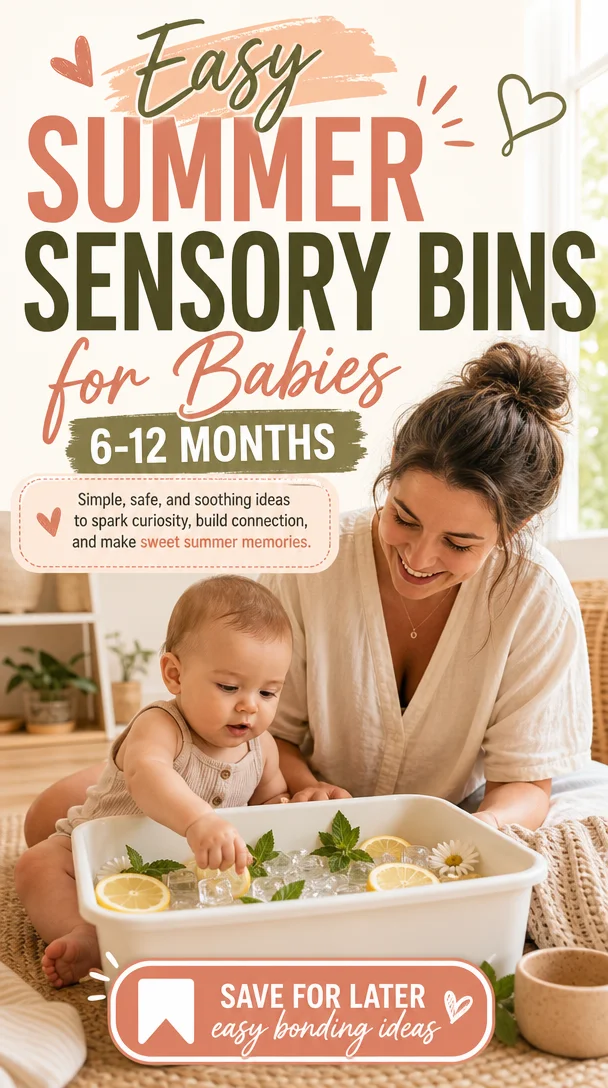
Easy Summer Sensory Bins for Babies 6-12 Months
Summer Sensory for Infants: Engaging Sensory Bins for 6-12 Months
Meta Description
Explore delightful summer sensory bins for infants aged 6-12 months. Discover engaging activities that boost development and create joyful, messy memories!
Introduction
Ah, summer days! The sun shines bright, outdoor adventures await, and yet, as parents of little ones, we sometimes wonder how to keep our babies entertained during those hot months. If you have an infant between 6-12 months, you know they love to explore the world around them. But let’s face it—playing outside can feel a bit overwhelming when you’re wrangling a tiny human who’s just discovered the wonders of their senses.
That’s where summer sensory bins come into play! They offer a fantastic opportunity for sensory exploration right in the comfort of your home. Imagine your little one squishing, splashing, and experimenting with different textures—all while you relax (or grab that much-deserved cup of coffee). In this guide, let’s delve into the beauty of summer sensory bins for infants, packed with practical ideas, easy setups, and heartfelt encouragement. You’ve got this, and I’m here to help!
The Benefits of Sensory Play for Infants
Sensory play is not just for fun; it’s a vital part of your baby’s development. Engaging in sensory activities nurtures their curiosity and helps them develop critical skills such as:
- Motor Skills: Gripping, pouring, and manipulating different materials enhances fine motor skills.
- Cognitive Development: Exploring textures and tastes introduces concepts of cause and effect.
- Emotional Growth: Sensory play promotes feelings of joy, leading to happier and more relaxed babies.
- Social Interaction: Sharing materials and playing together fosters connection and bonding.
Setting Up Your Summer Sensory Bin: What You’ll Need
Creating your sensory bin is easier than it seems! Here are some simple items you can use to make the perfect tactile playground for your little one:
Bin Ideas
- Water Table: A shallow plastic container filled with water.
- Sand Bin: A container of kinetic sand or play sand for digging.
- Nature Bin: A collection of leaves, flowers, and small natural objects like pinecones and rocks.
Sensory Materials
- Water: Use cold water or warm water, adding colorful dishes or bath toys for extra fun.
- Sand: Consider adding safe toys like cups, shovels, and even spoons for scooping.
- Ice: Freeze small toys or fruits in ice blocks for a cool summer exploration.
- Plants: Use fresh herbs like mint or basil for smelling and touching.
Fun Summer Sensory Ideas for 6-12 Month Infants
Now that you know what you can use, let’s dive into some specific sensory bin themes perfect for summer!
1. Tropical Water Adventure
Fill a shallow bin with water and add colorful plastic ocean animals. You can include small cups, spoons, sand toys, or even a few splashes of food coloring for vibrant colors!
Tip: Create a shaded area outside with a blanket or umbrella to keep your baby comfortable while they splash!
2. Beach Day with Sand
Provide a bin of kinetic sand along with small beach toys. Let your baby squish, mold, and explore. Add scoops and spades to encourage mess-making!
Tip: Head outside and let your baby dig in the sand (make sure it’s safe!). Bring along some small buckets to collect treasures!
3. Nature’s Colors
Collect various natural items like leaves, flowers, and smooth stones. Create a sensory bin that introduces your child to different textures and colors.
Tip: Encourage your little one to smell the flowers and feel the leaves. The local park or garden can be a perfect place for this activity!
4. Ice Block Exploration
Freeze small toys or fruits in ice blocks. This is a wonderful way for your baby to experience temperatures and textures. As the ice melts, let them explore!
Tip: Use warm water to speed up the melting process or provide towels for the drips!
5. Sensory Soup
Fill a bin with a mixture of water, bubbles, and toys. Let your baby pour, splash, and play in a bubbly sensory soup!
Tip: Add bath toys and even some safe kitchen tools like measuring cups to enhance the fun.
Helpful Tips for Success
As with any parenting activity, we want to keep things safe and enjoyable! Here are some handy tips for sensory play with infants:
- Supervise Closely: Always stay within arm’s reach during sensory play to ensure safety, especially with water or small objects.
- Choose Non-Toxic Materials: Ensure any objects used are safe and suitable for mouthing, as infants often explore through their mouths.
- Be Ready for a Mess: Sometimes sensory play gets messy! Set up in easily cleanable spaces or outside to minimize stress.
- Follow Your Baby’s Lead: Pay attention to what your infant enjoys and let them explore at their own pace. Don’t pressure them to engage if they seem uninterested.
Encouraging Your Child’s Sensory Exploration
Helping your little one engage with sensory bins can deepen their experience and spark curiosity. Here’s how:
Ask Open-Ended Questions
Encourage your baby’s exploration by asking simple questions, even if they can’t answer yet. For instance:
- “What does that feel like?”
- “Can you splash the water?”
- “How does the sand feel on your fingers?”
Offer Gentle Guidance
If they seem unsure, demonstrate how to play, but let them take over immediately. Your excitement can be contagious!
Celebrate Little Wins
When your baby makes discoveries—like splashing water or feeling grass for the first time—celebrate with smiles and cheers! These joyful moments foster a strong emotional bond.
Create a Routine
Incorporate sensory play into your weekly routine. For instance, make Wednesdays "Sensory Play Day" where you try something new! This anticipation builds excitement.
Summer Sensory Play and Connection
Remember, summer sensory play isn’t just about sensory learning; it’s about creating meaningful moments. Infants thrive in environments filled with love and attention. Here are some connection ideas to deepen those special summer days:
- Storytime: While playing, narrate a story that incorporates their sensory experiences. "The ocean feels cool and the sand tickles your toes!"
- Hold and Explore: Encourage them to hold different objects and name them, fostering language skills.
- Music and Movement: Play gentle summer music while they play, prompting them to move and wiggle. Happy babies mean happy summer memories!
Conclusion
You’re doing an incredible job navigating the beautiful challenges of parenting. Creating summer sensory bins for your little one is a delightful way to foster development, connection, and that joyful messiness that makes childhood so magical.
As you enjoy these simple, heartfelt activities, remember that perfect parenting doesn’t exist—your love and presence are the most important gifts you can offer. So grab those bins, get creative, and savor these moments of sensory exploration. Here’s to a summer filled with laughter, messy hands, and warm, cozy memories! You’ve got this!
Optional FAQ Section
Q: Can sensory play be messy?
A: Yes, it can! But that’s part of the fun. Set up your sensory play area in a space that’s easy to clean or take it outdoors.
Q: What if my baby doesn’t seem interested in sensory play?
A: That’s perfectly normal! Follow their lead and offer different materials or activities. Sometimes engaging them in the moment can ignite their curiosity.
Q: How often should I set up sensory bins?
A: You can set up sensory bins as often as you like—try once a week to keep things fresh and exciting!
Pin It for Later!
Don’t forget to save this article for ideas on summer sensory bins for infants! Share it with your parent friends and let’s create a supportive community around joyful parenting. 💛