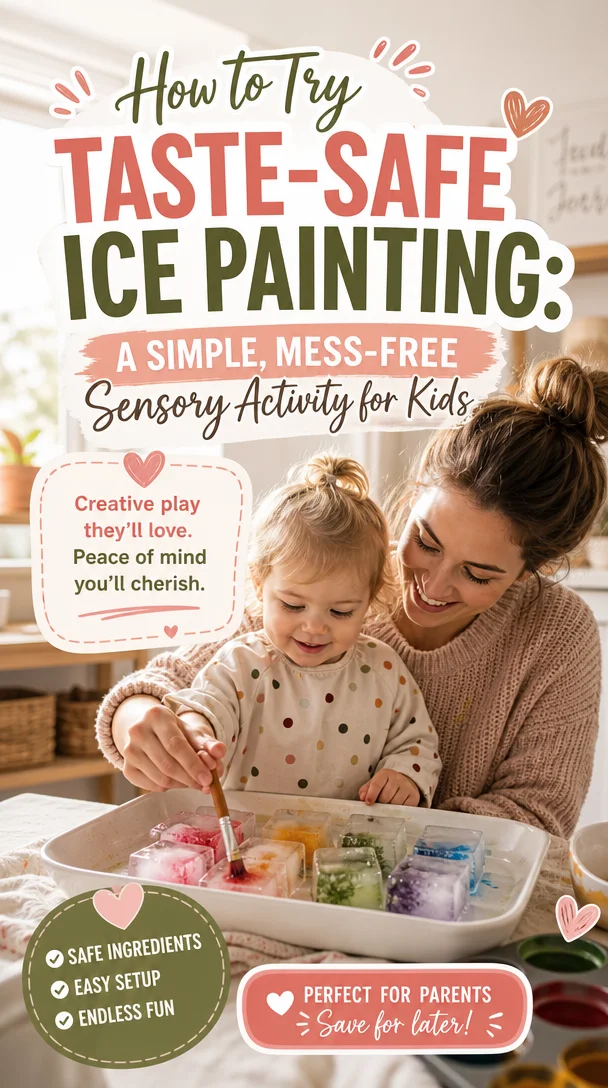
How to Try Taste-Safe Ice Painting: A Simple, Mess-Free Sensory Activity for Kids
Taste Safe Ice Painting: A Fun Sensory Play Activity for Kids
Meta Description: Discover taste-safe ice painting for sensory play! Create colorful art while fostering creativity and exploration in your little ones.
Hey there, fellow parent! You know those days when the kids seem to have an endless amount of energy, and the weather limits outdoor play? We’ve all been there! Sometimes, it feels like you need a little magic to transform those chaotic moments into something special. That’s why I’m excited to share an amazing activity with you: Taste Safe Ice Painting.
This engaging sensory play idea not only allows your little ones to uncover their creative talents but also provides a wonderful opportunity for exploration and learning. The best part? It’s completely taste-safe! So, don’t worry if they take a curious lick or two. This activity isn’t just about art; it’s about building connections with your child while encouraging their natural curiosity. Let’s dive into the colorful world of ice painting and create some joyful memories together!
The Benefits of Sensory Play
Before we jump into the nitty-gritty of ice painting, let’s chat about why sensory play is so essential for our little ones. Engaging their senses helps children develop crucial skills such as:
- Fine Motor Skills: Squeezing, stirring, and manipulating tools enhance dexterity and strengthen hand muscles.
- Cognitive Development: Sensory experiences foster problem-solving skills as kids explore colors, shapes, and textures.
- Emotional Regulation: Hands-on activities can help children express their feelings and reduce anxiety.
- Creativity and Imagination: Unleashing their creativity allows kids to express themselves in unique ways.
With the benefits in mind, let’s explore a delightful sensory activity that your toddler will adore!
What is Ice Painting?
Ice painting combines the joy of painting with the sensory experience of melting ice. You freeze colorful, edible liquids in ice cube trays and then use the ice to paint on paper or canvas. As the ice melts, children witness a beautiful blending of colors. This magical transformation can captivate young hearts and minds!
What You Will Need
Gather these simple supplies for an enjoyable ice painting adventure:
Materials
-
Taste-Safe Paint:
- 1 cup of water
- 1 cup of sugar-free juice or unsweetened yogurt (you can also use diluted food coloring)
-
Ice Cube Trays: These will serve as molds for your paint.
-
Paper or Canvas: Use watercolor paper, cardstock, or a canvas where the colorful artwork will appear.
-
Plastic Wrap (optional): If your little artist wants to transport their artwork outside, this will help keep it from blowing away.
-
Paintbrushes or sponges (optional): For those who want to dab, swirl, or create patterns as they play.
Preparing Your Materials
- Make the Paint: Combine water and your choice of juice or yogurt in a bowl. If using food coloring, mix it in to create vibrant colors.
- Fill the Ice Cube Trays: Pour your colorful mixture into the ice cube trays and freeze them overnight.
- Prepare Your Workspace: Set up a designated painting area outdoors or at a table covered with newspaper. Minimize the mess while maximizing fun!
Ice Painting Step-by-Step Instructions
Once your ice cubes are frozen and your space is ready, it’s time for the fun! Follow these steps:
- Set the Stage: Find a nice spot either outdoors where your child can create freely or somewhere inside protected from spills.
- Gather Encouragement: Invite your child to browse through the ice “paints.” Encourage them to pick their favorite colors or flavors to start.
- Start Painting: Show your child how to hold an ice piece and paint! Let them explore the melting ice, feeling its coolness against their hands.
- Experiment with Techniques: Encourage them to press, swipe, and spin the ice on the paper. Ask questions like, “What happens when we layer colors?” or “Can you create a rainbow?”
- Observe and Discuss: As the painting progresses, take a moment to observe the changing colors and discuss what your child sees. Use descriptive words and encourage them to share their thoughts.
Connecting Through Conversation
This activity isn’t just about creating beautiful artwork; it’s an opportunity for meaningful connection. Here are some conversation starters to enhance the experience:
- “What color do you think we should mix next?”
- “How does the ice feel against your skin?”
- “Can you describe what this color reminds you of?”
By fostering these interactions, you nurture language development and emotional bonds between you and your child, making the experience even richer.
Helpful Tips for Success
To ensure your ice painting session goes smoothly, keep these tips in mind:
Make it a Mess-Free Zone
- Use a plastic tablecloth or old newspapers to protect your surfaces.
- Dress your child in old clothes or a smock to avoid worries about stains.
Adapt for Age and Skill Level
- For younger kids, allow them to freely explore without specific instructions.
- For older children, introduce techniques like layering, mixing colors, or even creating shapes and patterns.
Add Layers of Learning
- Teach about color mixing: What happens when they combine red and blue?
- Discuss the science of melting: Why does the ice melt, and what can we learn about temperature?
The Joy of Displaying Art
Once your little artist finishes their masterpiece, let’s celebrate their creativity!
- Spotlight Art: Find a special place at home to hang their artwork. Use clips, strings, or a gallery wall for an attractive display.
- Keep an Art Journal: Take pictures of their creations and compile them into a fun scrapbook. You can create a mini-gallery of their artistic journey to look back on together.
Encouraging Independence
As your child starts to gain confidence in their creativity, encourage them to lead the way. Let them choose their colors and methods. Empowering them builds self-esteem and a sense of ownership over their creations. Remember, there’s no wrong way to play!
Cleaning Up Made Easy
No need to dread the cleanup after such a fun activity! Once your ice painting session wraps up:
- Quick Rinse: If using juice or yogurt, quickly rinse any brushes or surfaces with warm water to prevent stickiness.
- Store Remaining Ice Cubes: If there are any leftover ice paints, you can refreeze them for future play sessions. Just pop them back in the freezer!
Conclusion
Taste-safe ice painting combines creativity and sensory exploration, bringing joy and learning right into your home. As parents, we want to create moments that matter, and this simple activity allows us to do just that. Along the way, you bond with your child, encourage artistic expression, and help them express their emotions.
Remember, parenting doesn’t require perfection. Little moments of joy, like ice painting, are what make this journey beautiful. So, the next time your little one needs an engaging activity, whip out those ice paints, grab your favorite juice, and let the creativity flow. You got this, and you’re doing amazing!
Now, let’s grab those supplies and begin painting the world with imagination and love. Happy creating!
Frequently Asked Questions
Q: Is the ice paint safe for my toddler to taste?
A: Yes! Using juice or yogurt means it’s taste-safe. Just supervise to ensure they don’t consume too much at once.
Q: What if it’s too cold outside?
A: You can do ice painting indoors! Just prepare your space accordingly, but keep the temperature in mind to avoid slippery floors.
Q: Can we use these techniques with other materials?
A: Absolutely! Try using different tools, such as sponges or brushes, or even create splatter art by flicking paint from toothbrushes!
By following this guide, you can create a delightful sensory-rich environment that supports your child’s development and strengthens your parent-child bond. Let’s keep those creative juices flowing, one activity at a time!
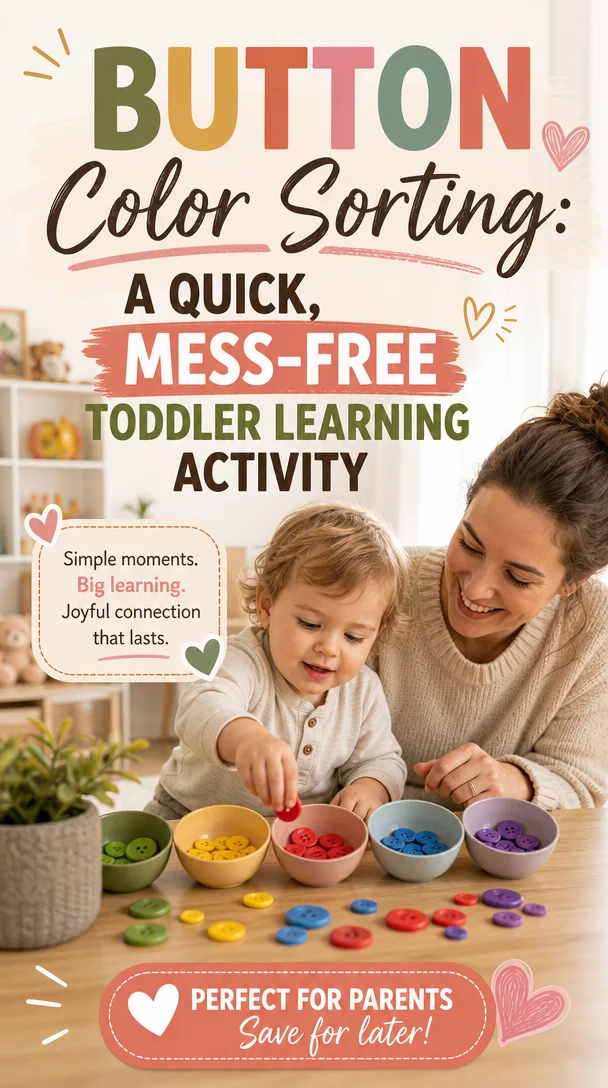
Button Color Sorting: A Quick, Mess-Free Toddler Learning Activity
Fun and Easy Button Color Sorting: Engage Your Kids While Enhancing Their Skills
Meta Description
Discover a fun Button Color Sorting activity to help your kids develop color recognition and fine motor skills using everyday craft supplies.
Introduction
Do you ever find yourself wishing you could turn everyday moments into magical learning experiences with your kids? Well, if you’ve been looking for an engaging way to help your little ones recognize colors, then get ready for an adventure! Today, I’ll introduce you to a delightful Button Color Sorting game that not only captivates your child’s attention but also promotes essential skills like color identification and fine motor development.
Imagine your toddler’s excitement as they dive into a sea of colorful buttons, sorting and categorizing them with joy. With just a handful of inexpensive craft supplies, you can create a fun learning environment right at home. Not only will this activity take mere minutes to prepare, but it also allows you to sneak in a bit of education while creating lasting memories. Let’s jump right in and explore how to make and play this fabulous game together!
What You’ll Need for Button Color Sorting
Creating your Button Color Sorting game is quick and easy. Here are the supplies you’ll need:
- A mix of colorful buttons (you can use old ones from clothes or purchase a cheap set)
- A few small containers or bowls (plastic cups work great!)
- Optional: A colored sheet of paper or fabric to serve as a sorting base
Setting Up the Game
- Gather Your Buttons: Start by collecting buttons of various sizes, shapes, and colors. If you don’t have enough buttons at home, check your local craft store or online shop. It’s an inexpensive way to score lots of colors!
- Prepare Your Sorting Base: You can place a colored sheet of paper on the table to make this more visually appealing and inviting. This will also serve as a backdrop for the activity.
- Set Up Your Containers: Arrange your containers in a row or circle, labeling them with different colors if you want to make it a bit educational. For example, place a red container, a blue container, and so on.
With your materials ready, it’s time to play!
How to Play Button Color Sorting
This activity works beautifully for kids aged 2 and up. Here’s how to introduce the game to your little ones:
Step 1: Introduce the Colors
Start by discussing different colors with your child. Point out each one as you place buttons in front of them. “Look at this sunny yellow button! Where do you think it should go?” Prompt your child to identify the colors and encourage them to name the buttons they see.
Step 2: Sorting Time
Encourage your child to pick up the buttons one by one. Ask them to place each button into the correct container according to its color. Make this process playful by cheering them on or adding fun sounds as they successfully sort the buttons. “Woohoo! Great job with the blue one!”
Step 3: Count and Celebrate
Once your child sorted all the buttons, celebrate their efforts! Count how many buttons are in each container together. This little twist adds an element of numeracy to the activity, enhancing both their math and color recognition skills. You can say, “How many red buttons did you find? Let’s count together!”
Benefits of Button Color Sorting
Not only is Button Color Sorting a fantastic indoor activity for rainy days, but it also offers numerous benefits for your child’s development:
Enhances Fine Motor Skills
The act of picking up small buttons and placing them in specific containers encourages your child to practice their hand-eye coordination and dexterity. These skills are crucial as they prepare for more complex tasks like writing.
Promotes Color Recognition
Sorting colors reinforces your child’s ability to recognize and differentiate colors. By associating colors with objects they see daily, they’ll become more adept at identifying them in their environment.
Sparks Creativity
Feel free to expand this activity by adding more elements! Encourage your child to use larger items or different shapes. This creative exploration fosters imaginative thinking.
Encourages Problem-Solving Skills
As children sort buttons, they engage in problem-solving by determining the correct container for each button. This teaches them to think critically and make independent decisions.
Helpful Tips for Success
Here are some actionable parenting tips to make this activity even more enjoyable and educational:
Create a Colorful Environment
Set the tone by surrounding your child with colorful items. Decorate the play area with artwork featuring colors, or include colorful toys that they’re familiar with.
Add a Story Element
Make this activity more exciting by creating a story around it. Perhaps the buttons came from a magical land where colors come to life! This makes the experience both educational and imaginative.
Turn Competition into Teamwork
If you have multiple kids, create an informal team challenge. Who can sort their buttons the fastest? Keeping the spirit light and fun encourages collaboration rather than competition.
Expand the Lesson
Once your child masters sorting, introduce new concepts like primary and secondary colors, or mix colors to create new ones. After all, learning can happen in so many creative ways!
Share Your Experience
Capture the fun moments during the activity with photos and share them on social media. You can inspire other parents by highlighting the joy and learning that happens during these simple activities!
Conclusion
In the whirlwind of parenting, it’s often the simplest activities that create the most meaningful connections. Your little ones don’t need extravagant toys or elaborate setups; they just need your warmth and encouragement to flourish. Through this fun Button Color Sorting game, you’ll not only enhance their skills but also create precious memories that both you and your child will cherish for years to come.
Remember, no one expects you to be a “perfect” parent. It’s about finding these small moments of joy and learning together, and you’re doing wonderfully! So grab those buttons and embark on this colorful adventure with your little one. You’ve got this, and together, you can make precious moments that truly count!
FAQs
How many buttons do I need for the game? You’ll want to have a variety of buttons, but a great rule of thumb is to gather around 20-30 buttons for sorting.
What age is Button Color Sorting suitable for? This activity generally suits toddlers aged 2 years and up, but even older children can enjoy it with added complexity, like counting or creating patterns.
Can I use other items for sorting? Absolutely! Feel free to use pom-poms, stones, or colored paper clips. The key is to use items that are safe and manageable for your child.
What if my child gets frustrated? If they find it challenging, offer gentle guidance and reassurance. Turn it into a fun game rather than strictly adhering to the rules. The goal is to enjoy the moment!
Now it’s your turn to create a fun-filled learning experience with your kids. Happy sorting!