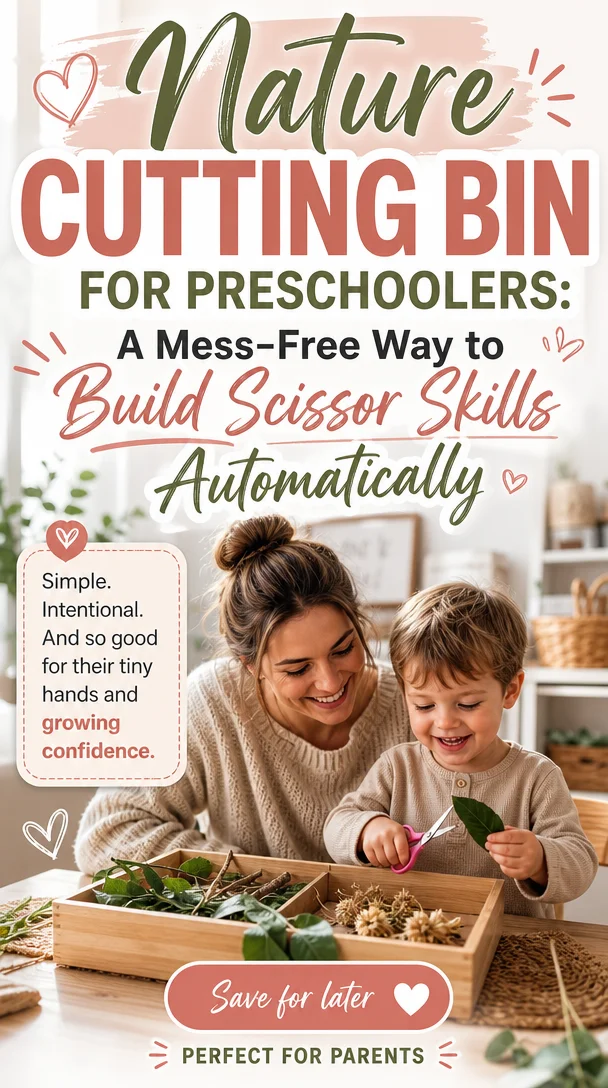
Nature Cutting Bin for Preschoolers: A Mess-Free Way to Build Scissor Skills
Unleash Creativity with a Nature Cutting Bin: A Delightful Activity for Preschoolers
Meta Description: Discover a fun, free activity for preschoolers with a DIY nature cutting bin. Encourage scissor skills while exploring the outdoors!
Introduction
Ah, the beauty of childhood! There’s something incredibly magical about watching your little ones explore the world around them. Yet, as parents, we often find ourselves pondering how to channel that bubbling energy into creative and educational activities. Enter the nature cutting bin—a game-changer for busy toddlers eager to learn while having fun!
Imagine your preschooler snipping away at colorful clippings from your yard, developing fine motor skills all while having a blast. Sounds fantastic, right? This hands-on experience not only entertains but also fosters their creativity and dexterity. Plus, it costs nothing but a little time and the treasures Mother Nature provides.
So, let’s dive into everything you need to know about creating this engaging nature cutting bin and how it can brighten your family’s day!
What is a Nature Cutting Bin?
A nature cutting bin is a simple sensory activity where your child explores various natural materials—think twigs, leaves, flowers, and more—using scissors to cut and interact with them. This activity marries outdoor play with fine motor skill enhancement, creating a perfect blend for curious minds.
By providing a mix of textures, colors, and shapes, you give your little one the chance to experiment and learn in an inviting way!
Why Choose a Nature Cutting Bin for Your Preschooler?
1. Encourages Scissor Skills
For preschoolers, mastering scissor skills lays the foundation for future writing and crafting. Children learn to open and close the scissors, strengthen grip, and start controlling their cutting line, making this an essential skill-building activity.
2. Fosters Creativity and Imagination
When your child rambles through the yard or a nearby park collecting materials, they engage in imaginative play. The simple act of picking up nature’s treasures sparks creativity, and cutting those items allows them to express their ideas visually.
3. Promotes Outdoor Exploration
With so much screen time these days, outdoor exploration is more important than ever. This activity not only gets your little one outside but also instills a love for nature and its boundless lessons.
4. Offers Sensory Stimulation
The variety of textures and smells in a nature cutting bin provides rich sensory experiences. Children develop tactile sensitivity as they handle everything from soft petals to rough tree bark.
5. Strengthens Parent-Child Bonding
Activities that involve hands-on engagement create wonderful opportunities for conversation, shared laughter, and meaningful memories. As you join your child in this exploration, cherish these moments together!
How to Create Your Own Nature Cutting Bin
Creating a nature cutting bin is incredibly simple and requires minimal materials. Here’s how to get started:
Step 1: Gather Supplies
- Natural Materials: Go for a variety of items—twigs, leaves, grass, flowers, and even some stones if you want to mix it up.
- Scissors: Child-safe scissors work best for preschoolers. They should be lightweight and easy to grip.
- Container: An outdoor bin or a simple tray will suffice to keep things organized.
- Optional: Magnifying glass for closer inspections, paper for collecting cuttings, and a small bag for collecting items.
Step 2: Head Outside
Take a walk with your child, encouraging them to collect anything that catches their eye. This part of the activity allows for lots of discussions about what they find. Ask questions like, “What color is this flower?” or “How does this leaf feel?”
Step 3: Set Up the Cutting Bin
Arrange your collected treasures in the container or tray. If you’re using paper, place it beneath the materials. When your child is ready, have them explore the bin, encouraging them to cut different items.
Step 4: Encourage Exploration
As your child engages with the materials, offer some gentle prompts. You might say, “Can you find the longest piece of grass?” or “What happens if you cut this leaf?” This will encourage both exploration and conversation!
Step 5: Celebrate Their Work
Once your child has finished cutting, celebrate their creations! You could create a nature collage together or make a “nature scrapbook” to store their favorite pieces. This celebratory step helps your child feel proud of their efforts.
Tips for Success: Make the Most of Your Nature Cutting Bin
1. Create a Safe Cutting Environment
Safety comes first! Ensure your child has enough room to cut freely, and always supervise them while they use scissors. Teach proper scissor handling beforehand to prevent accidents.
2. Keep it Simple
Don’t overwhelm your child with too many materials. A few key items will suffice to spark their creativity. In fact, working with fewer materials often leads to more imaginative play!
3. Incorporate Learning
Use this time to weave in educational elements. Discuss colors, shapes, and sizes as they cut. Count pieces together, identify different plants, or even introduce simple science concepts like decomposing leaves.
4. Allow for Free Play
While some structure is helpful, allow your child space for free exploration. They might surprise you with ways they choose to engage with the materials!
5. Mix it Up
Change up the contents of your cutting bin each time or use materials from different seasons to keep it fresh and exciting.
Nature Cutting Bin Variations
Here are some fun variations to consider for your cutting bin:
Seasonal Themes
- Spring: Focus on soft flowers and vibrant greens.
- Summer: Incorporate sturdy leaves and colorful butterflies.
- Autumn: Use colorful leaves, pine cones, and twigs.
- Winter: Add dried out stems or even past holiday decorations like holly.
Adding a Sensory Component
Introduce other sensory materials like water beads, sand, or clay to enhance your cutting experience. Let your child cut items and then mix them with these sensory delights for a multi-faceted playtime.
Encouragement: Let’s Keep Going!
As we wrap up our discussion about creating a nature cutting bin, remember that not every activity will be a perfect hit. Sometimes the weather doesn’t cooperate, or distractions creep in. That’s okay!
What’s important is offering your child consistent opportunities for growth, exploration, and fun. Celebrate both the success and the struggles along the way, and cherish the joyful connections you’re fostering.
Next time you’re feeling a little heat from the chaos of parenting, take a step back and consider a simple, free activity like the nature cutting bin. It’s these small moments that often make the biggest memories.
Conclusion
Creating a nature cutting bin gives your preschooler so much more than just an enjoyable activity; it nurtures their fine motor skills, sparks creativity, and strengthens the bond between you two. So gather those leaves, grab those scissors, and let the cutting begin! Parenting isn’t perfect, but it can certainly be an adventure—full of laughter, lessons, and a sprinkle of nature’s magic.
Optional FAQ Section
Q: What if my child doesn’t want to cut the nature items?
A: Encourage other forms of play! Perhaps they’d enjoy just exploring the textures or making a nature-themed craft. Keep it light and let their interests guide the activity.
Q: How often should I set up a nature cutting bin?
A: Regularly! But listen to your child. If they find it repetitive, mix up the materials or take a break. The goal is to keep it fun and engaging!
Q: What age group is this activity suitable for?
A: The nature cutting bin is fantastic for toddlers and preschoolers, ideally ages 2-5, but older kids can enjoy it too by incorporating more complex cutting and crafting projects!
Happy cutting, and enjoy every beautiful little moment with your little explorer! 💚
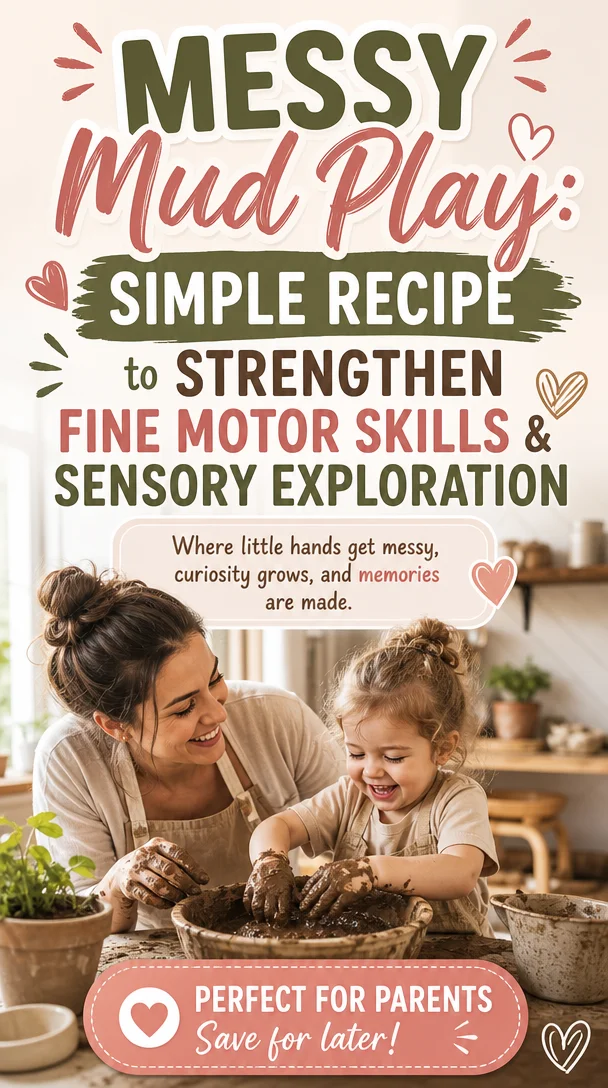
Messy Mud Play: Simple Recipe to Strengthen Fine Motor Skills & Sensory Exploration
Play Mud Recipe: Strengthening Fine Motor Skills Through Sensory Play
Meta Description
Engage your child’s fine motor skills with our easy play mud recipe! Discover how this sensory play is a fun way to learn and grow together.
Introduction
As parents, we all know that children learn best through play. It’s astonishing how something as simple as mud can open up a world of exploration and learning. Have you ever watched your little one joyfully squishing their hands in a muddy puddle or digging in the dirt? Those moments are more than just messy fun; they’re instrumental in developing essential skills like fine motor control and sensory awareness.
Today, I want to share an exciting play mud recipe that’s incredibly easy to make, requires just a few household ingredients, and will keep your little ones engaged for hours. Plus, we’ll discuss how to incorporate insect figurines into the play for an extra layer of exploration. So, grab your apron, and let’s get our hands dirty—figuratively and literally!
Why Play Mud Matters
Fostering Fine Motor Skills
Fine motor skills are essential for everyday tasks. From writing to buttoning shirts, strengthening these skills early on helps set our kids up for success. The act of squishing, rolling, and molding play mud requires coordination and dexterity, which naturally develops these critical abilities.
Enhancing Sensory Experiences
Sensory play is vital for toddlers and preschoolers. Engaging with different textures stimulates their senses and enhances cognitive development. Play mud not only feels cool and squishy but also smells earthy, providing a holistic sensory experience.
The Perfect Play Mud Recipe
Here’s the best part; you can whip up this play mud using items you likely have around your home. Here’s how:
Ingredients
- 2 cups all-purpose flour
- 1 cup water
- 1 tablespoon vegetable oil
- Food coloring (optional)
- 1/2 cup cocoa powder (optional, for color and scent)
Instructions
- Mix Dry Ingredients: In a large bowl, combine the flour and cocoa powder (if using). Stir well until combined.
- Add Wet Ingredients: Slowly add water and vegetable oil to the dry mixture. If you want colored mud, now is the time to add a few drops of food coloring.
- Knead the Mud: With your hands, knead the mixture until you achieve a smooth, pliable consistency. If it feels too wet, add a little more flour. If it’s too dry, add a spoonful of water.
- Store Smarter: Keep your play mud in an airtight container or resealable bag to maintain freshness.
Adding Insect Figurines for Extra Fun
To enhance your sensory experience, consider incorporating small insect figurines into your play mud. These tiny creatures can inspire imaginative play and offer endless opportunities for learning about nature. You could:
- Conduct a “bug rescue” mission where kids dig to find hidden insects.
- Create a mini ecosystem in the mud, explaining how each bug plays a role in the environment.
- Use the figurines to talk about different habitats and behaviors.
Helpful Tips for an Engaging Play Experience
- Set Up a Play Station: Create a designated play area with a tarp or old blanket. This way, cleanup becomes a breeze, allowing everyone to enjoy the activity without worrying about the mess.
- Use Tools: Provide your child with tools like small shovels, spoons, or even cookie cutters. These tools encourage manipulation, enhancing fine motor skills while also making play more engaging.
- Incorporate Themes: Change the play scenario week to week. One week could focus on a bug adventure, while another could revolve around a beach or construction theme—endless opportunities for creativity!
Engaging Conversation Starters
As your child plays, engage them with simple questions to encourage conversation and curiosity:
- “What colors do you see in the mud?”
- “How does it feel in your hands?”
- “What do you think these insects are doing?”
The Importance of Process Over Perfection
As you embark on this messy adventure, remind yourself that this is all part of the process. It’s not about creating the perfect mud sculpture; it’s about the joy of exploration, the giggles, and the learning that occurs through the experience. Celebrate those small wins—whether it’s your child befriending a bug or realizing they can make a mud pie!
Wrapping Up
Engaging in sensory play with your child doesn’t just bolster their fine motor skills; it creates opportunities for bonding, exploration, and joy. Remember, parenting often involves embracing the messy parts of life, and play mud offers a fantastic way to celebrate those moments.
So, get ready to mix some mud, let your imagination run wild with those bug figurines, and enjoy this wonderful opportunity to bond with your little ones. And remember, you’re doing an incredible job navigating this parenting journey. Celebrate the small victories, like warm coffee and messy hands!
FAQs
Can I store play mud for later use?
Yes! Keep it in an airtight container or a plastic bag. It should last for about a week or two if stored properly.
Is this play mud safe for younger children?
Absolutely! All the ingredients are safe; however, always supervise young kids to prevent any accidental ingestion.
What if my child doesn’t enjoy the texture?
That’s okay! Some children are sensitive to touch. Try introducing the texture gradually or allow them to engage in other ways, like scooping with tools.
Join the Little Life Society community for more ideas, encouragement, and tips on navigating this beautiful, messy journey of parenting! 💛
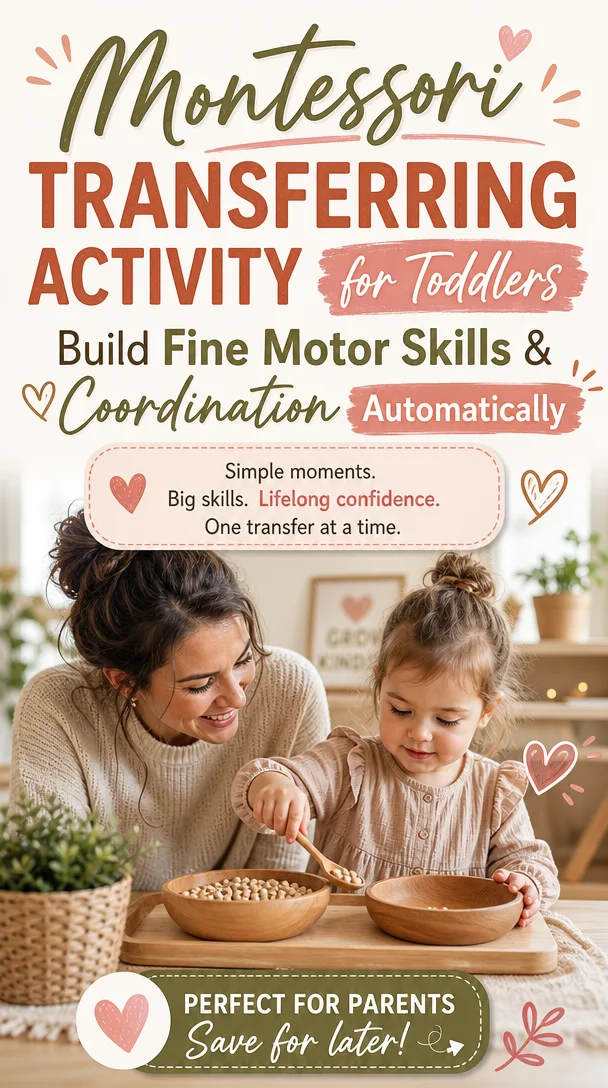
Montessori Transferring Activity for Toddlers: Build Fine Motor Skills & Coordination
Montessori Practical Life Transferring Activity: Boosting Fine Motor Skills & Coordination for Toddlers
Meta Description
Enhance your toddler’s fine motor skills with this Montessori-inspired transferring activity using beans and rice. Easy, engaging, and practical for home learning!
Introduction
Hey there, wonderful parents! If you’re anything like me, you know that parenting is a delightful mix of love, chaos, and a sprinkle of overwhelming moments. Your little one is constantly discovering the world, and as they do, their development grows! It’s amazing to think about the joy in those tiny hands mastering new skills, especially when it comes to fine motor development.
Today, let’s dive into a Montessori-inspired transferring activity that’s as engaging as it is educational. This simple yet highly effective exercise uses beans and rice to not only capture your child’s attention but also bolster their hand-eye coordination and concentration. It’s perfect for those bustling moments at home when you want to pave the way for your toddler’s independence and learning—one tiny scoop at a time.
So, grab that snack (I know you’ve got a few stashed away) and let’s explore how you can set up this delightful activity!
Understanding the Benefits of Fine Motor Skills
Fine motor skills encompass the small movements that children make using their hands and fingers. These skills are essential for everyday tasks—including writing, drawing, and self-feeding. The great news? With a few engaging activities, you can support your little one’s development right at home!
Why is Fine Motor Skills Development Important?
Fine motor skills play a critical role in your child’s overall growth. Here are just a few of the incredible benefits:
- Confidence Boost: Mastering a new skill encourages independence and a sense of accomplishment.
- Preparation for Future Skills: Developing these skills sets the foundation for tasks like buttoning shirts and holding pencils.
- Cognitive Growth: Engaging in these activities promotes focus, problem-solving, and curiosity about the world.
Encouraging fine motor development doesn’t have to be complicated; with simple activities like transferring beans and rice, you’ll nurture your child’s abilities while having a ton of fun together!
Setting Up Your Montessori Practical Life Transferring Activity
Now, let’s get into the nitty-gritty of setting up this activity. Trust me; it’s as easy as pie!
What You Will Need:
- Containers: Two small bowls or containers (think of a scoopable bowl for pouring and a receiving bowl).
- Beans and Rice: Use dry beans, rice, or any small items you have around. Colorful variations can be even more visually stimulating.
- Spoon or Cup: A scooping tool works wonders for this activity. Choose a child-friendly spoon or cup that fits nicely in their hands.
Step-by-Step Guide
-
Prepare the Space: Find a clean, flat surface. A table or a mat works perfectly. Lay down an old towel or tray underneath to catch any spills.
-
Introduce the Materials: Place one bowl filled with your chosen beans or rice on the table. Set the empty bowl next to it and show your toddler how to use the spoon to transfer the contents from one bowl to the other.
-
Demonstrate the Activity: Show them how to scoop, lift, and pour. Remember to gently encourage, use descriptive language, and model your excitement about the task.
-
Hands-On Exploration: Let your child take over! Let them explore the textures and sounds of the beans and rice. They may even enjoy pouring a bit on their hands—it’s all part of the experience!
Safety Tip
Always supervise your toddler during this activity. Ensure that they don’t put the beans, rice, or any small items in their mouths. Safety first!
Why Beans and Rice Are Ideal for This Activity
You might wonder, "Why beans and rice, specifically?" Let’s unpack that a bit!
Sensory Exploration
The different shapes and sizes of beans and rice offer a unique sensory experience. Your child can feel the variation, enjoy the sounds they make, and even observe how these items move from one bowl to the next.
Options for Variety
Switch it up! Try different materials like:
- Pasta: Twirl a handful of penne for a fun twist.
- Cornmeal or Sand: For an outdoor version, you can use kinetic sand.
- Colored Lentils: These vibrant options stimulate visual development and sensory play.
Enhancing the Learning Experience
You’re probably thinking how to extend this activity even further. Good news! Here are some ideas to enhance learning and make it more interactive:
Language Development
As you engage in the transferring activity, talk about colors, shapes, and textures. Ask questions such as:
- “What does it feel like?”
- “Can you tell me what color the beans are?”
Counting & Sorting
Turn the transferring activities into a mini-math lesson:
- Counting: Count the beans or rice together as they scoop from one container to another. “Let’s count to ten together!”
- Sorting: Introduce a sorting aspect—can they separate the beans from the rice by putting them in different bowls?
Practical Life Skills
As your child masters this transferring skill, encourage them to help with everyday tasks. Think of those moments when you’re cooking or cleaning—offer opportunities for them to transfer dry ingredients from one container to another during family meal prep. It’s a perfect way to blend learning with real-life skills.
The Joy of Mess
Let’s be honest: as much as we try to keep things tidy, messes happen! While we want to encourage exploration, we also recognize how overwhelming clean-up can feel. But fret not!
Embracing Messy Play
- Set Boundaries: Designate a specific area for messy play. A mat, tray, or even outdoors can make clean-up a breeze after fun activities.
- Involve Your Child: Turn clean-up into a game. Sing a song together or race to see how quickly they can collect the items. A little fun goes a long way!
Encouragement for the Journey
As you embark on this fantastic transferring activity, remember: every small step counts. Your child’s progress won’t come in leaps and bounds, but rather in those tiny moments filled with laughter, curiosity, and joy.
Conclusion
Oh, the beauty of parenting! Amidst the whirlwind of busy days, you create magical moments with activities as simple as transferring beans and rice. Engaging your child in practical life activities enhances their fine motor skills while building confidence and independence.
So, as you prepare to dive into this Montessori-inspired activity, know that you are doing an incredible job. Celebrate the small victories—the excitement in their eyes and the giggles that follow!
Keep creating those meaningful moments, and remember: you’ve got this, and you’re not alone in this tender, messy journey called parenthood. Until next time, relish those little moments that make life so richly beautiful.
Optional FAQ Section
Q: At what age can my toddler start doing this activity?
A: Generally, toddlers aged 2-3 years can start engaging with activities like this, with supervision. Adjust materials based on their developmental readiness.
Q: What if my toddler loses interest quickly?
A: That’s perfectly normal! Keep the sessions short and repeat them periodically. Change materials or introduce new challenges as they grow.
Q: How can I incorporate this into our daily routine?
A: Consider making this activity a part of your morning routines or as a quiet-time option in the afternoon. Consistency helps build familiarity!
Feel free to share this activity with fellow parents! It’s a fabulous way to foster fine motor development in a fun and engaging manner. Let’s create a supportive parenting community, one share at a time! 💛